MPLS Label Stack Calculator
Estimate MPLS shim depth, packet overhead, safe payload MTU, and label table scale for L3VPN, EVPN, SR-MPLS, traffic engineering, pseudowire, and lab transport designs.
Full calculation breakdown
| Stack model | Typical labels | What the labels represent | Planning note |
|---|---|---|---|
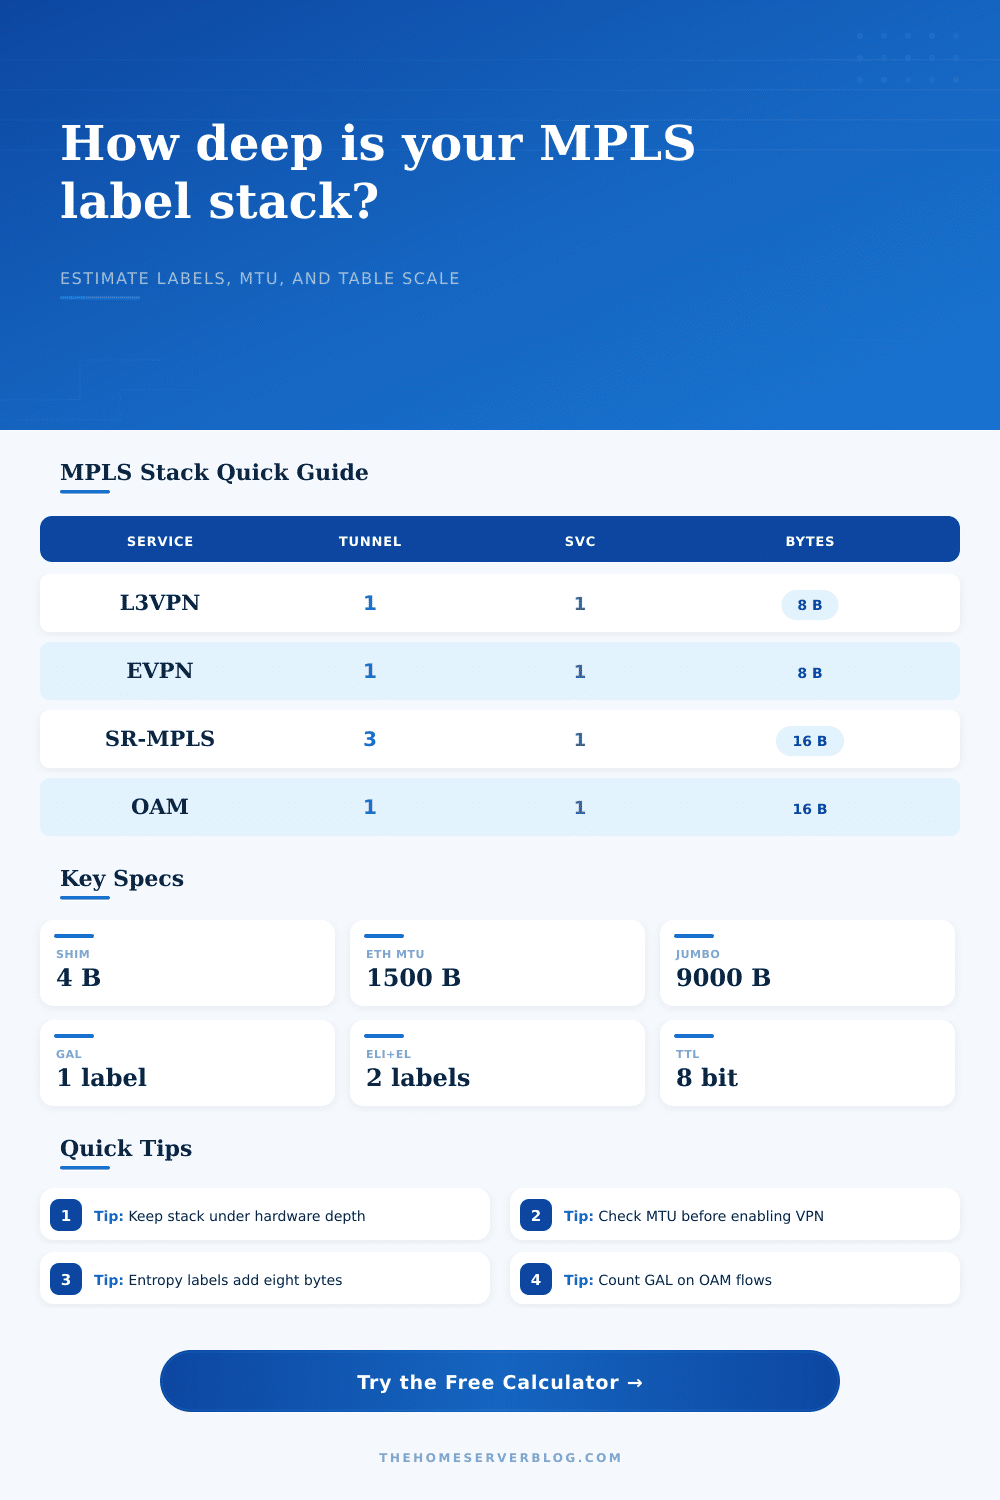
| LDP or RSVP L3VPN | 2 | Transport plus VPN service label | Plan 8 bytes of shim overhead before optional labels. |
| EVPN over MPLS | 2 | Transport plus EVPN service label | Common for provider-style lab fabrics and BGP EVPN tests. |
| SR-MPLS service path | 3 to 6 | Segment list plus optional service label | Every extra segment adds 4 bytes and hardware depth pressure. |
| OAM or BFD test packet | 3 to 5 | Transport, service, GAL, and channel labels | OAM flows often have deeper stacks than ordinary payload flows. |
| Platform class | Planning stack depth | Label entry planning | Best fit |
|---|---|---|---|
| Software router VM | 4 to 6 labels | CPU and memory dependent | Learning labs, packet capture, small L3VPN tests |
| Home lab L3 switch | 3 to 5 labels | Check ASIC profile and feature mode | Simple LDP, static labels, and light PE edge tests |
| Compact provider edge | 6 to 10 labels | Moderate LFIB and VPN table scale | L3VPN, EVPN, RSVP-TE, and pseudowire bundles |
| Core or whitebox ASIC | 8 to 16 labels | Large but profile-specific hardware scale | SR-MPLS, deep segment lists, and high ECMP designs |
| MPLS item | Bytes | Formula | Practical limit |
|---|---|---|---|
| Single label stack entry | 4 bytes | Label, EXP/TC, S bit, TTL | Multiply by every visible label in the stack. |
| ELI plus entropy label | 8 bytes | 2 labels x 4 bytes | Useful for load sharing, but it deepens the packet. |
| GAL for OAM | 4 bytes | 1 label x 4 bytes | Add it when sizing OAM and troubleshooting flows. |
| Safe payload MTU | MTU minus shim bytes | Interface MTU - stack bytes | Raise transport MTU when carrying full 1500-byte payloads. |
| Project size | Services or routes | Expected stack | Scale note |
|---|---|---|---|
| Two-router MPLS lab | 10 to 50 | 2 labels | Good for label basics and packet captures. |
| Home office PE pair | 50 to 500 | 2 to 4 labels | Check table scale before adding many VRFs. |
| EVPN aggregation pod | 500 to 5000 | 2 to 5 labels | Entropy labels may help hashing across parallel links. |
| Segment routed core | 5000 plus | 4 to 8 labels | Keep SR policies within platform push depth. |
I can tell you that most home lab builders begins with a basic L3VPN configuration where they push two labels onto a packet and then send it over the tunnel. It is simple enough until you add an OAM flow that needs to probe the path. It also gets harder when you adds entropy labels to improve load balancing or use Segment Routing. Now that packet have five or six labels on it, and your MTU math is gone.
The calculator above do the math for you after you input your transport profile so you don’t have to do any guesswork when converting and calculating coefficients. It’s not simply label count but understanding how much of your available forwarding capacity and bandwidth are being eaten up by those labels.
Why You Should Use This MPLS Calculator
Adding four bytes per MPLS label to the packet header doesn’t sound like much. But remember that you’re pushing a standard Ethernet frame (with its 1500 byte payload) in a tunnel. Stacking three labels mean losing a dozen bytes of payload space. And if your underlay interface have a standard MTU, the packet will get fragmented or just drop. This kills performance for any kind of gaming or voice traffic which are pretty sensitive application.
Before you can turn on this service, you’d better know how much payload MTU is left; the tool shows you exactly how much room is left for your actual data once you account for the shim overhead. Sounds small but will save you hours of troubleshooting dropped packet later.
Inputs to the tool reflect how people actually deploy things. You choose your transport type such as SR-MPLS or an EVPN over MPLS, and it populate the service and tunnel labels with reasonable defaults. Then you tweak based off whether you want entropy labels. These greatly improve how the hash gets spread across parallel links but they add eight more bytes. Or maybe you have to consider a router alert label or a Galabel (used when running OAM protocols like BFD). Those are the control plane labels that is often overlooked at the beginning of the design process but add to overall stack depth.
Understanding the limit of your switch/routers is half the battle, once you go beyond what the hardware can imposes, the packet dies. The flipside of the scale problem are label tables. You don’t want to add so many labels that you overload the TCAM or ASIC capabilities of your forwarding hardware. It is not just about per-packet overhead. There is also forwarding entries in those tables which the calculator accounts for by looking at how many labels you need for your routes plus any ECMP fanout. This means your switch needs to have enough room to store them. That will help you see if your home lab switch can support the config.
A software router VM may choke on five or six, or maybe even only four or five labels. A compact provider edge might be able to do six or ten without breaking much of a sweat. If you design your network to fit your hardware capabilities, you’ll avoid sluggish performance or worse sudden crashes.
I have added some reference tables on the page for easy lookup of commonly used stack models. Depending on how long your segment list is, SR-MPLS will take up 3-6 labels and with LDP or RSVP L3VPN you will typicaly get just two labels. Knowing the norms here allows you to gauge where you are at in designing it yourself. If you design your lab to go deep into the stacks but don’t have the hardware for it, it is time to upgrade or rethink the topology. Better to know before you configure the whole thing!
We’re looking for predictable and stable networks; not super complex ones that just barely work. The bottom line is that a good MPLS lab take discipline. Count every forwarding entry, count every byte of overhead. The calculator won’t make the decision for you; it will help you understand so that you can make an informed choice.
From learning about label operation to validating an EVPN control plane, understanding the constraints are very important. Go easy on yourself, start basic, check your MTUs and incrementally scale-up. That is the best way to make sure your lab runs well without building it more than you need to.
The stack may appear simple from afar but the devil is in the details; knowing how much overhead you have and where it goes will be different than a functional lab and a broken lab. Watch the overhead and your network will reward you.