Docker Image Layer Size Calculator
Estimate compressed image size, unique pull bytes, registry storage, and rollout transfer from base image, app layer, dependency layer, build cache, layer count, compression, reuse, nodes, and pull frequency.
| Layer type | Typical source | Size pattern | Optimization move |
|---|---|---|---|
| Base image | OS filesystem and runtime | 5 MB to 6+ GB | Use slim, alpine, distroless, or runtime-only base images. |
| Dependency layer | npm, pip, apt, apk, gem, Maven, NuGet | Often the largest app-owned layer | Install production dependencies only and pin lockfiles. |
| Application layer | Compiled binary, source, assets, config | Changes most often | Copy stable dependency files before source to maximize cache reuse. |
| Build cache | Package caches, temp files, object files | Easy accidental growth | Delete cache in the same RUN step or use multi-stage builds. |
| Metadata overhead | Layer tar, manifest, config JSON | Small per layer | Combine noisy micro-layers when it does not hurt cache behavior. |
| Compression ratio | What it suggests | Common image contents | Planning note |
|---|---|---|---|
| 0.25 to 0.35 | Excellent compression | Text, package indexes, repeated files | Great for registry storage, but pull CPU may matter on tiny nodes. |
| 0.35 to 0.50 | Normal app image | Mixed binaries, libraries, source, assets | Good default for most home lab and CI images. |
| 0.50 to 0.70 | Binary-heavy | JARs, wheels, media, model files, compressed archives | Do not expect registry compression to rescue oversized assets. |
| 0.70 to 0.90 | Already compressed | Zip, gzip, images, ML weights | Measure real pulls with docker image inspect or registry data. |
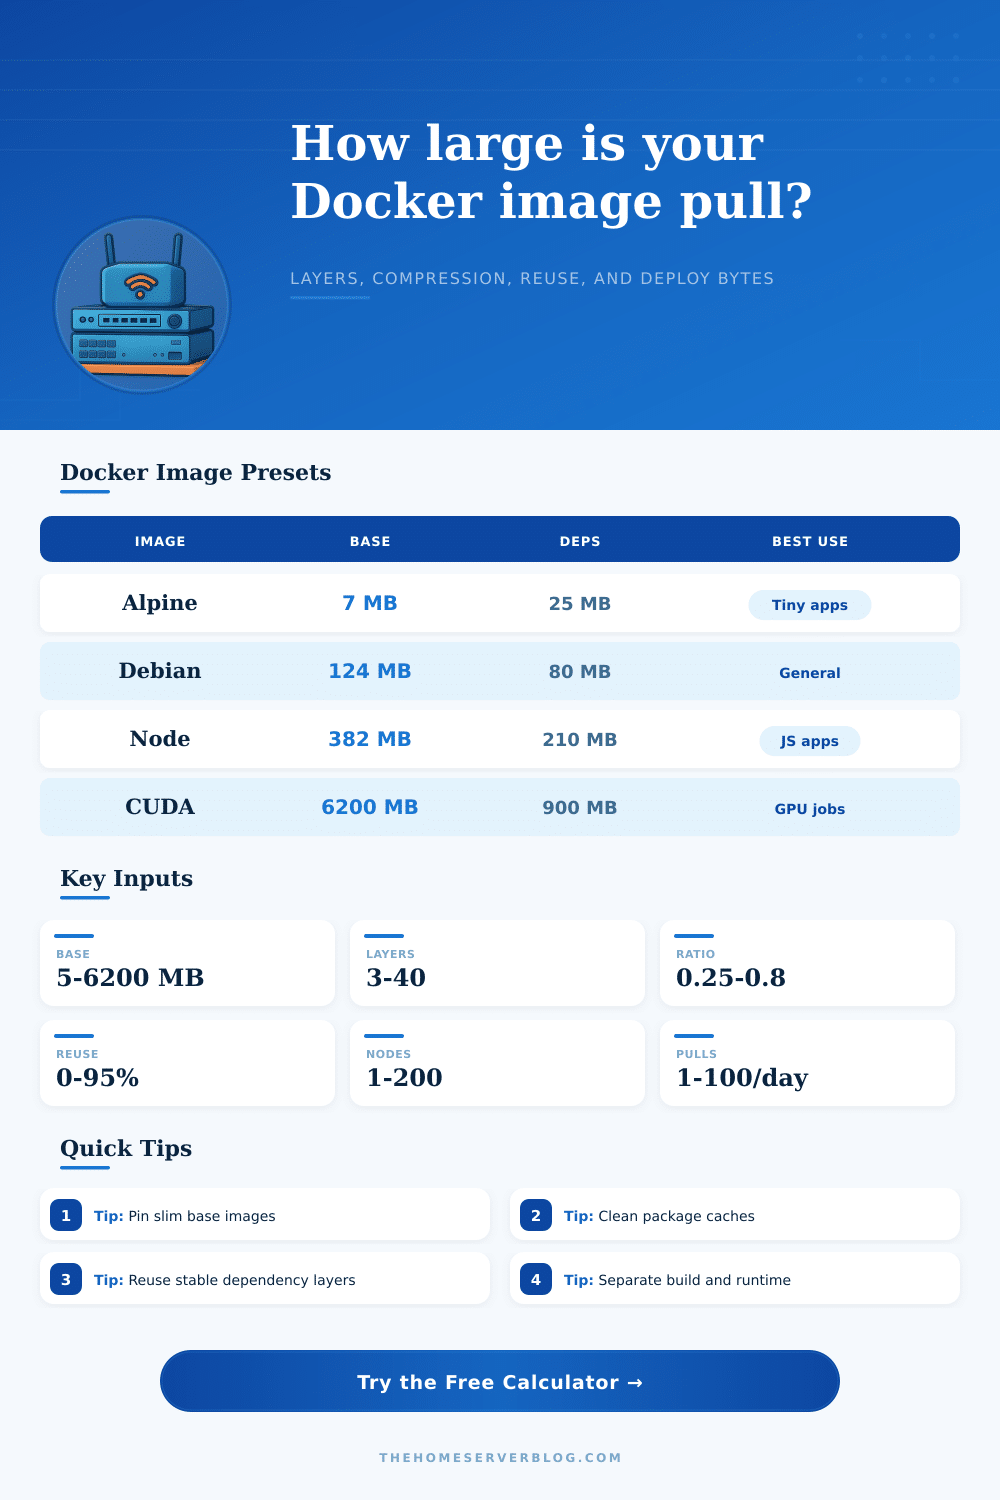
| Base image family | Typical base size | Strength | Watch out for |
|---|---|---|---|
| scratch | 0 MB | Smallest possible runtime for static binaries | No shell, CA certs, or diagnostics unless added. |
| distroless | 20 to 80 MB | Small production runtime with fewer moving parts | Debugging needs sidecars or separate debug images. |
| alpine | 5 to 10 MB | Tiny Linux base for many services | musl compatibility can surprise some native dependencies. |
| debian slim | 70 to 130 MB | Broad compatibility with smaller footprint | Still clean apt lists and avoid recommended packages. |
| ubuntu | 75 to 200 MB | Familiar tooling and package ecosystem | Tooling can creep into runtime images quickly. |
| node | 250 to 1000 MB | Convenient JavaScript build/runtime images | Use node slim, prune dev dependencies, and avoid copying cache. |
| python | 150 to 950 MB | Good language runtime and package support | Wheels, compilers, and data packages can dominate size. |
| cuda | 3000 to 9000 MB | GPU runtime and ML framework compatibility | Use runtime tags, layer model files carefully, and cache nodes. |
Sure, your Dockerfile looks efficient on paper: you copy your code, you install your dependencies, and then you push the image into registry. That’s small enough, right? This happens until you need to deploy it on twenty nodes, at which point your network traffic spike. Gigabytes of data wait to flow through deployment pipeline, halting it in its tracks. Often this isn’t malicious code. Most often, this is simply invisible baggage buried deep inside layers that you assumed would remain lightweight.
This mean knowing the exact size of your image is more important than just getting it to run locally. How many bytes need to be moved for application to start? That’s not the question most developers ask themselves, they just care that the app starts. Each layer added to a Docker image add more to the stack. If you select a minimal distro then maybe underlying OS isn’t too bad. Throw in your dependency tree, your compiled assets, and leftover package manager cache and you’ve got yourself a bloated artifact.
Why Small Docker Images Are Better for Your Network
Compression ratios depends wildly on what you pack. Text files compress beautifully. Already compressed archives and binary blobs don’t. Math gets tricky fast. A generic estimate will mislead you every time. Plug in your layer sizes and let the calculator (above) do the heavy lifting for you. This way you don’t have to guess what’s really new vs. That image contains cached history. You just want to consider what’s unique to this build.
What do you already have on your target nodes? Those layers aren’t really counted in the next pull because you have a copy of that base image or dependency layer. That’s the delta, the part most folks forget. They see total uncompressed size and freak out. Instead, they should of being seeing the actual unique bytes that travel over the wire.
As a reality check, think about compression ratio. You’ve got a ton of JavaScript source code and config files in your image? Expect it to compress well. You might ship huge jar files and/or model training data. Don’t hold your breath for registry to slim it down for you. Keep that in mind so you don’t fall into the trap of thinking “I’ll just tune my image size until it’s good enough.” That doesn’t work; you can’t optimize your way out of poor architecture. Got terabyte-sized model weights sitting in your image? There is no tuning that will make that image perform well. Those should be stored outside the image and mount at run-time.
That is what makes the pull efficient or not and it’s all about how you construct your Dockerfile. Copy your lockfile first (for dependencies) followed by your source code. That way, when you modify a line of your app logic, only that very last layer will change. The big dependency layer is sitting in memory on each node as cache. There is nothing to download so the next deploy is near instant. It is a little thing, but it has a huge impact at scale.
And don’t forget about build cache that sneaks its way into your image. If you’re using apt, you’ll find all the lists it downloaded. If you’re using npm, it has its caches. If you use any other package manager, there will be temporary object files that stick around unless you clean them up in the same layer. By splitting the heavy work of compilation away from eventual runtime environment, multi-stage builds address this issue. Compile everything in a big builder image and copy over just resulting binary into an empty, tiny container. The final artifact is lean and mean.
Each inefficiency gets amplified when rolling out the same update to hundreds of nodes. That may be fine if a single node differs by 10 megs, but over many deploys a day that add up to a substantial cost in bandwidth. This tool on the page presents those total costs so you can understand how much it’ll cost before shipping to production. It turns theoretical layers into actual bytes sent.
And at the end of the day, size matters because size = velocity. With less stress on your network infrastructure, less time recovering from pull failures and faster rollouts, you get faster deploys. When you think of your image layers as more than an afterthought or something to just limit costs, you optimize your deploy pipeline instead of guessing about it. You don’t just ship code; you ship it efficienty. Think about what each byte times time times scale mean to you.