RAID 60 Capacity Calculator
Estimate usable RAID 60 storage from group count, drive size, parity, hot spares, free-space reserve, and selected drive class.
⚙Real RAID 60 Presets
🗄Array Inputs
💾Equipment and Storage Spec Comparison
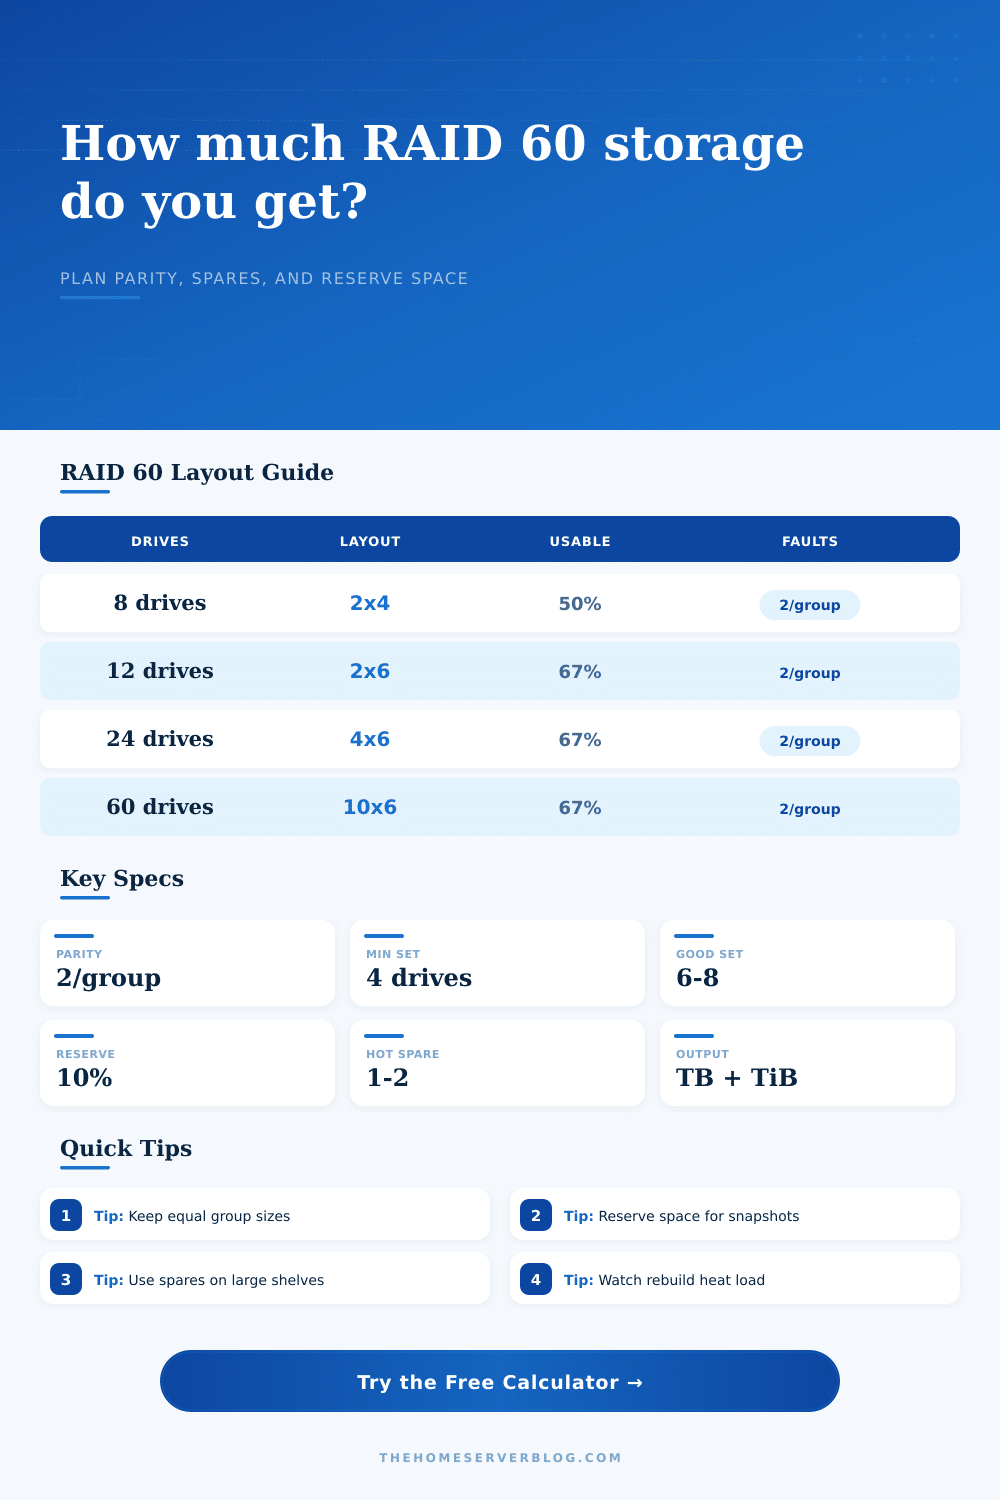
📊RAID 60 Layout Reference
| Installed Drives | Common Layout | Parity Drives | Capacity Efficiency | Fault Tolerance Rule |
|---|---|---|---|---|
| 8 drives | 2 groups of 4 | 4 total | 50% | Up to 2 failed drives per group |
| 12 drives | 2 groups of 6 | 4 total | 66.7% | Best when groups stay equal |
| 24 drives | 4 groups of 6 | 8 total | 66.7% | Survives multiple failures if spread out |
| 36 drives | 6 groups of 6 | 12 total | 66.7% | Good balance for large home lab shelves |
| 60 drives | 10 groups of 6 | 20 total | 66.7% | Needs careful spare and cooling planning |
🔧Drive Class Reference
| Drive Class | Typical Power | Planning Rebuild Rate | Best Use | RAID 60 Note |
|---|---|---|---|---|
| NAS SATA HDD 7200 RPM | 8 W active | 160 MB/s | Media, backups, mixed NAS | Solid default for home servers |
| NAS SATA HDD 5400 RPM | 5 W active | 110 MB/s | Quiet low-power arrays | Lower heat, longer rebuild windows |
| Enterprise SATA HDD | 9 W active | 180 MB/s | Higher-duty storage pools | Good for dense 24-bay shelves |
| Nearline SAS HDD | 10 W active | 190 MB/s | SAS expanders and disk shelves | Strong choice for multipath shelves |
| Archive SMR HDD | 7 W active | 80 MB/s | Cold sequential archives | Avoid heavy random-write workloads |
| Enterprise SATA SSD | 4 W active | 420 MB/s | VM storage and compact arrays | Watch endurance and controller limits |
| 12G SAS SSD | 6 W active | 650 MB/s | Database and virtualization pools | Fast rebuilds, needs proper airflow |
| U.2 NVMe SSD | 12 W active | 1200 MB/s | High IOPS flash shelves | Controller bandwidth may dominate |
📐Capacity Conversion Reference
| Advertised Size | Approx Binary Size | 2×6 RAID 60 Usable | 4×6 RAID 60 Usable | With 10% Reserve |
|---|---|---|---|---|
| 8 TB drive | 7.28 TiB | 64 TB / 58.2 TiB | 128 TB / 116.4 TiB | 57.6 TB or 115.2 TB |
| 12 TB drive | 10.91 TiB | 96 TB / 87.3 TiB | 192 TB / 174.6 TiB | 86.4 TB or 172.8 TB |
| 18 TB drive | 16.37 TiB | 144 TB / 130.9 TiB | 288 TB / 261.9 TiB | 129.6 TB or 259.2 TB |
| 22 TB drive | 20.01 TiB | 176 TB / 160.1 TiB | 352 TB / 320.1 TiB | 158.4 TB or 316.8 TB |
🧮Common Project Size Reference
| Project Type | Typical Layout | Recommended Reserve | Planning Concern | Good Checkpoint |
|---|---|---|---|---|
| Home media NAS | 2×6 with 12 TB drives | 10% | Snapshot growth | Usable TiB after reserve |
| Backup repository | 4×6 with 18 TB drives | 15% | Retention expansion | Monthly ingest versus free space |
| VM datastore | 3×4 SSD groups | 20% | Write amplification | IOPS and endurance margin |
| Cold archive shelf | 5×6 with large HDDs | 5% | Long rebuild time | Spare drive and airflow readiness |
⚡Planning Tips
So you start out with your set of drives and know everything should be usable storage. You plug in the drives and format the array, but then you find there’s a massive drop in usable storage. What happened? It didn’t get stolen. It got sacrificed for your data safety.
That’s where RAID 60 comes into play. It’s the safety net, basically combining several sets of RAID 6 arrays. Each of those RAID 6 groups has two drives dedicated for parity protection. You’ll see how much it sacrifices in terms of capacity on the calculator.
How to Build a Safe Storage System
Capacity can’t be judged by drive count alone; it’s also about drive grouping. A drive added to an unbalanced grouping doesn’t always give you more usable space. Symmetry is best in RAID 60. Two groups of four drives might comprise eight drives in all. But because each group has two drives dedicated to parity, only half your total space are usable.
That’s how this type of drive are set up, but people don’t think about it. They think: how much do I have? They do not ask how it is laid out. More is better, within reason. More drives and fewer groups provide greater storage efficiency different than fewer drives and more groups. You still lose parity for every two drives in a group, but the cost is spread out over more data drive.
You can see how this would work with the layout tool which help you visualize the design before computing your storage requirements. It’s a system you’re building, not just storing stuff into a box.
There should of be a storage reserve. You can save between ten and twenty percent of your space for that with the calculator. In case big files gets uploaded or the snapshots eat all your space, this will give you some breathing room. That buffer is the difference between a healthy system and one that locks up during a scrub. You don’t need it, so it’s like an insurance policy. And it comes at the price of storage, but protects against locking up the system.
Heat matter in an array because of the density. The tool calculates how much heat each drive will emit at what speed it run. If it spins faster, it heats up more and finishes rebuilding sooner. If it spins slower, it doesn’t heat up as much but takes longer to rebuild. Air flow trumps storage capacity in a crowded chassis. Any drive going down is bad news. A drive overheating while rebuilding are worse.
Rebuild cost and speed depend on the drive type. Shingled magnetic recording drives is slow and cheap, while solid-state drives are quick and expensive but fail different. Tool has a reference table to pair the workload with the drive type. Don’t put virtual machines on a slow drive. Don’t use fast drives for cold storage. Match the media to the job.
Extra disk protection comes with hot spares. Extra drives assigned as spare is waiting in case one of your drives fails and needs replacing. This is useful if you have large numbers of disks. If you have a small number, it’s a safety net. If you don’t have a spare and you lose a drive while rebuilding, you will lose all data in that group when a second drive fails.
It’s trying to balance speed with safety, heat and cost. It takes your numbers (in either decimal or binary) and translates them into other systems. This ensures the OS reports back the correct amount of space. You won’t have to wonder if the manufacturer’s specs are accurate or if your system matches them.
First, plan out how you want the group laid out. Then decide on what kind of media to use to make it go, leaving some room for maintenance. Ignoring parity costs will come back to bite you in the future. Verify the efficiency and ensure that the heat production doesn’t exceed the cooling capacity. Finally, fill up the rest.