Home lab backup capacity planner
Backup Compression Savings Calculator
Estimate compressed backup size, storage saved, retention repository footprint, and transfer reduction for ZFS, Proxmox, database dumps, NAS data, and file backups.
Formula breakdown
Repository pressure
How large one compressed baseline backup is before retention growth.
Expected transfer per day after compression, dedupe, and frequency.
What the same retention span would occupy without compression.
Capacity to provision after overhead and repository free space reserve.
| Data type mix | Typical ratio | Why it shifts | Home lab note |
|---|---|---|---|
| ZFS dataset mix | 1.4:1 to 2.2:1 | Documents, containers, and plain files compress well | Good first pass for NAS shares |
| VM disk images | 1.2:1 to 1.8:1 | Guest free space, OS files, and sparse blocks vary | Trim guests before full backups |
| Database dump | 2.0:1 to 5.0:1 | SQL text and repeated rows shrink strongly | Binary backup streams may compress less |
| Photos and media | 1.0:1 to 1.2:1 | JPEG, HEIC, MP4, and AAC are already compressed | Plan capacity mainly from retention |
| Algorithm profile | Ratio nudge | Window impact | Best fit |
|---|---|---|---|
| zstd balanced | Baseline | Moderate CPU | General repository backups |
| zstd fast | Slightly lower | Shorter backup runs | Slow links or busy nodes |
| zstd high | Slightly higher | More CPU time | Cold archives and database exports |
| lz4 or ZFS lz4 | Lower | Very fast | Inline filesystem compression |
| Retention pattern | Capacity driver | Dedupe effect | Reserve advice |
|---|---|---|---|
| Daily full plus incrementals | One full plus changed points | Moderate | 10% to 15% free |
| Snapshot chain | Changed blocks and metadata | High for similar VMs | 15% to 20% free |
| Database dumps | Every dump can act like a full | Low unless chunked | 12% to 18% free |
| Tiny config files | Metadata and file count | High content reuse | 20% for churn |
| Warning sign | What it means | Likely fix | Check cadence |
|---|---|---|---|
| Ratio below 1.2:1 | Data is media, encrypted, or pre-packed | Lower expectations and size disks | Monthly |
| Change rate above 20% | Retention growth dominates full size | Shorten retention or add tiering | Weekly |
| Reserve below 10% | Prune and verify can fail | Add capacity before cleanup day | Every run |
| High CPU backup window | Compression is the bottleneck | Use faster profile or more streams | After changes |
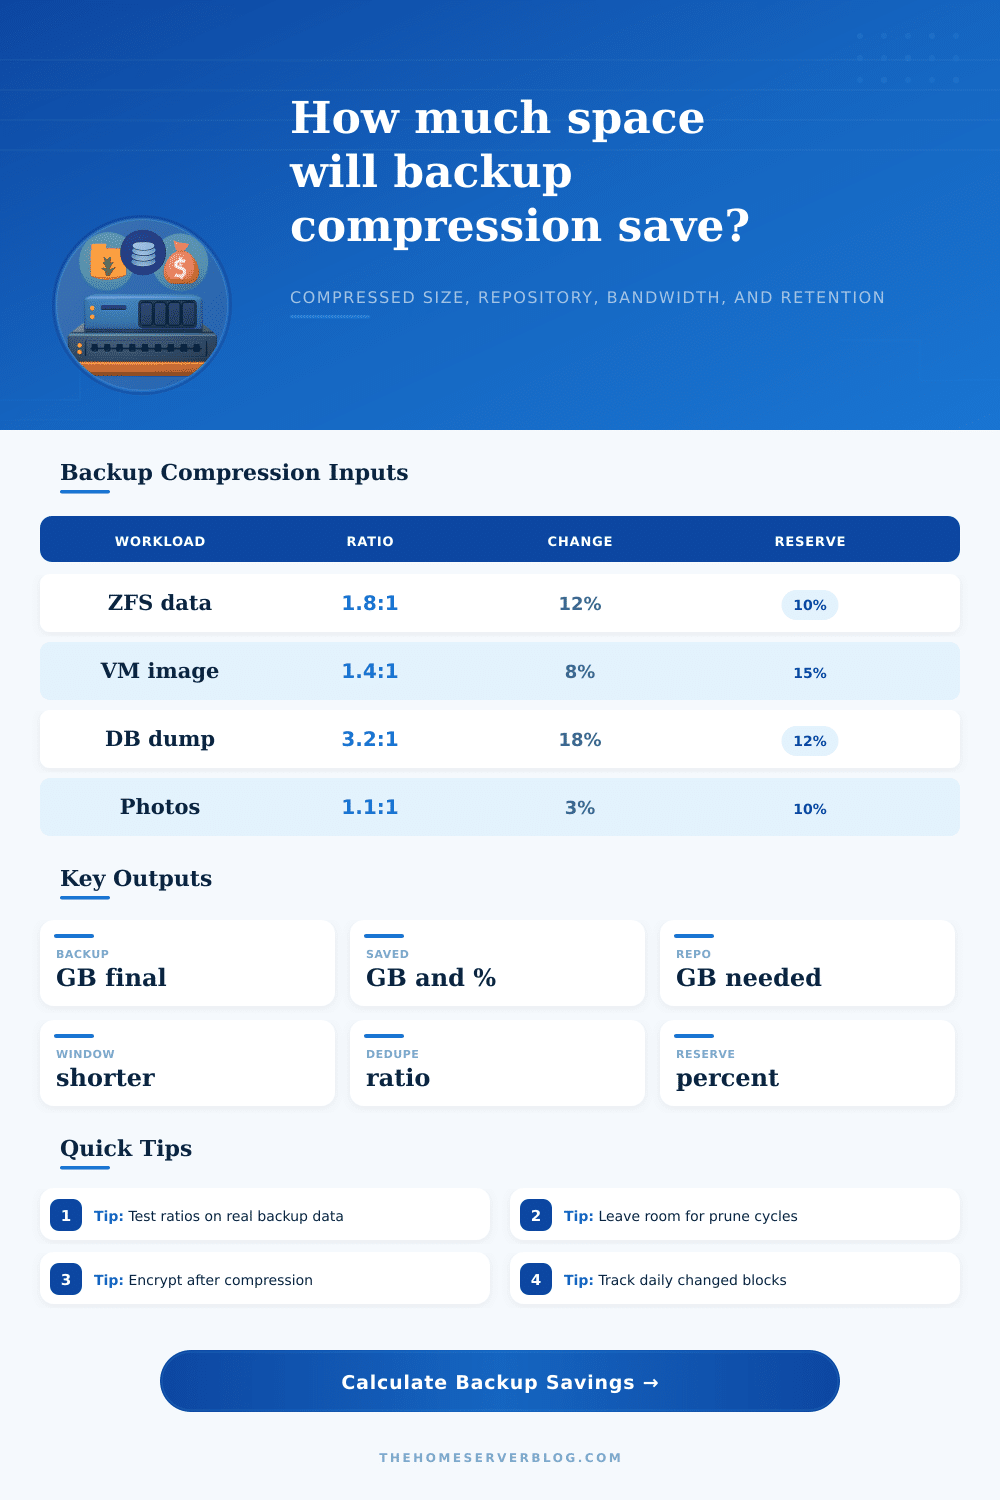
Your home lab comes with a two-terabyte hard drive. You get it home and suddenly all that space fills up fast; you didn’t expect to use so much uncompressed data! Planning backup storage should never be a guessing game. Think of each type of data as having its own requirements. High-definition video won’t compress very well, while text will shrink down dramaticly. If the former has a 3.2:1 ratio compared to the latter’s 1.4:1 ratio, you’ll need either three drives or just one to meet your needs.
But you don’t have to guess: after you specify what kind of workload (images vs. Logs) and what sizes you’re using as sources, the calculator do the math for you. It’s more about understanding what those inputs mean than knowing exactly which decimal number applies to your own mix of images and logs. The point is to select a compression algorithm that matches your hardware reality.
Plan Your Backup Storage Space
For most users, zstandard with its balanced profile strike a good balance, saving you space without turning your backup window into an all-night event. High compression will save you more space, but cost you more time; this is a conscious tradeoff that should of been made intentionally, not accidently.
The repository reserve gets forgotten by most folks, who discover only when their backup job failed because there’s no room on the thing. There should be some spare capacity in your backup system for checking the integrity of backed up data and pruning out old snapshots. You don’t want the system running out of space when it needs to clean something up, as it won’t have anywhere to put its temporary files. Fifteen percent is not wasted space. It’s protection against having to read through the error log while restoring from tape/cloud if something go wrong.
Compression and deduplication go hand-in-hand, but folks tend to get them confused. With deduplication, only changed blocks will be stored, so in scenarios where your virtual machines is backed up using a common base image, deduping could result in some sky-high ratios. But if you’re backing up an archive of unique photos, deduplication isn’t going to do much for you. The calculator lets you change the expected dedupe ratio to match. Set higher expectations for things like text-heavy archives and database dumps; set lower expectations for workloads that have lots of media.
That’s where encryption complicates things. To secure their backup data, many admins will encrypt their backups. But because encryption scrambles data into a state that looks random to compression programs, it becomes harder for them to achieve good ratios. Try encrypting something first and then trying to compress it: You’ll get basically zero space savings. Compress first; encrypt second. This is why it’s important to always check your pipeline to make sure you’re not sending data out over the wire in plain text after you’ve compressed it.
For example, the reference tables show what results you should expect based on which data type you’re using. If you try to back up a folder full of family vacation pictures and get a 97 percent compression ratio, you know something’s wrong; a PostgreSQL dump will always compress better. That is not because of magic; it is because of how compression algorithms work with already-compressed media files compared to structured data. If you see some giant saving number for your photo collection, double check the algorithm setting, since that means you’re probably expecting more out of this software than your actual data can give.
But you have to answer honestly about your change rate when planning for retention. Are you retaining points that only contain eight percent of your data? That means the extra amounts will be small, easy to manage. Do you see a twenty-percent change every day? You’ll need more disk space in order to retain all those points over time. The tool calculates what your total repository size is with those numbers and then it tells you how many actual fulls you’re accumulating over time. So you won’t get surprised into buying an extra drive half way through the cycle because you didn’t realize how much metadata you’d accumulate.
First: Measure what’s actually in your drives. Don’t guess based off the label showing gigabytes on disk. A one-terabyte drive might only hold six hundred gigabytes of useful files if half is empty space or temporary cache. So first feed it a real measurement of the amount of stuff actualy being backed up.
Set the reserve percentage according to your comfort level. Watch the resulting bandwidth savings figure. See how much less stressed your network connection is during prime time, and how much faster your backups completes.
Compression isn’t a silver bullet for bad storage habits; it is a multiplier for good ones. It won’t fix your bad storage habits. But it will multiply your good ones. You’ll still need to verify your data on a semi-regular basis. You’ll still need an offsite copy of that same data.
That said, being able to see exactly how much disk space you’re saving allows you to make the right decision when it comes time to buy new gear. You will no longer over provision on pricy NVMe drives. You will no longer under-provision on slow spinning disks. You get efficiency without the worry. Seeing those numbers line up with your workload makes the guess work go away.
You won’t have to worry about running out of disk space. Just know exactly when it’s time to order something bigger, and how long before that becomes necessary again. That peace of mind is more valuable than whatever tiny bit of space you could get by futzing around with settings.