Btrfs RAID Calculator
Estimate mixed-size Btrfs pool capacity by data profile and metadata profile, then plan free space for balance, scrub, and disk replacement work.
Calculation breakdown
| Item | Input or estimate | Profile factor | Planning note |
|---|---|---|---|
| Raw capacity | 40 TB | All disks | Press calculate to update the table. |
Single
Uses raw space efficiently, but one failed disk can lose chunks stored on that disk.
DUP
Stores two copies, commonly useful for metadata on a single-device filesystem.
RAID0
Stripes data for speed and capacity, but has no device-failure tolerance.
RAID1
Two mirrored copies on separate devices; handles mixed disk sizes better than classic RAID1.
RAID1c3
Three mirrored copies for stronger metadata or critical data protection.
RAID1c4
Four mirrored copies, high overhead, useful for very important metadata.
RAID10
Striped mirrors for VM or database pools when you have at least four devices.
RAID5/6
Parity profiles provide capacity efficiency, but require careful backup and maintenance planning.
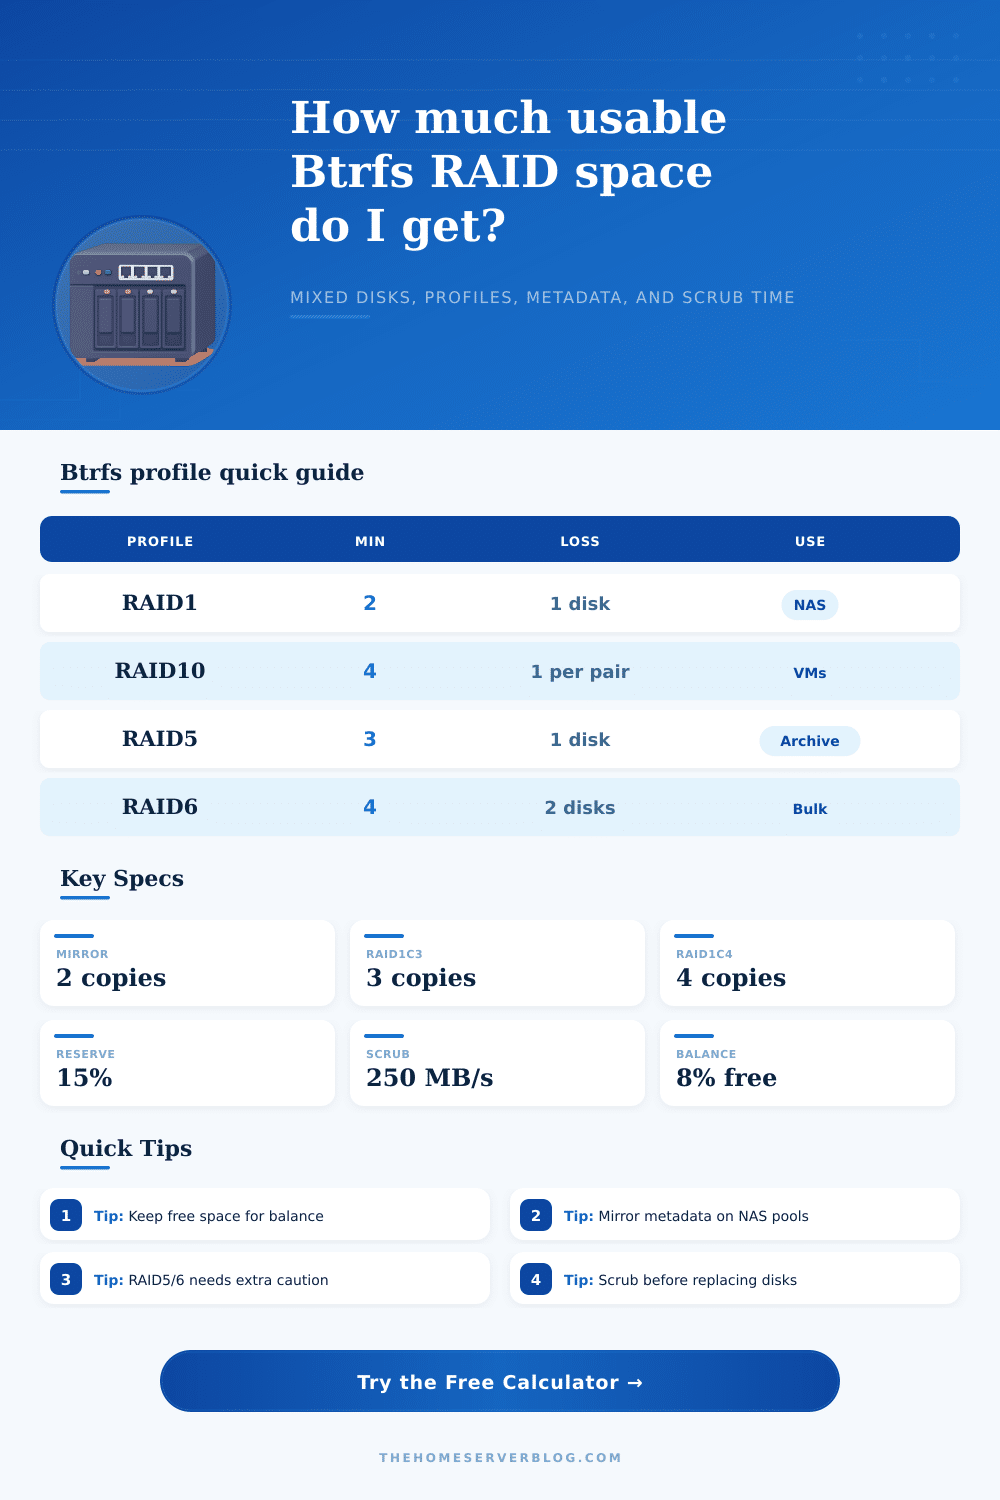
| Profile | Minimum devices | Approx usable capacity | Device loss tolerance |
|---|---|---|---|
| Single | 1 | Sum of all devices | None |
| DUP | 1 | About raw / 2 | No full-device redundancy |
| RAID0 | 2 | Sum of all devices | None |
| RAID1 | 2 | Lower of raw / 2 or raw minus largest disk | Usually 1 disk |
| RAID1c3 | 3 | Constrained by three full copies | Usually 2 disks |
| RAID1c4 | 4 | Constrained by four full copies | Usually 3 disks |
| RAID10 | 4 | About mirrored capacity with striping | One disk per mirror side |
| RAID5 | 3 | Raw minus largest disk | 1 disk |
| RAID6 | 4 | Raw minus two largest disks | 2 disks |
| Pool scenario | Disk set | Data / metadata profile | Best planning use |
|---|---|---|---|
| 2-Bay Mirror NAS | 12, 12 | RAID1 / RAID1 | Simple home NAS with one-disk tolerance. |
| 4-Bay Mixed RAID1 | 12, 12, 8, 8 | RAID1 / RAID1 | Mixed-size pool that can grow disk by disk. |
| VM RAID10 Pool | 4, 4, 4, 4 | RAID10 / RAID1 | Better random I/O behavior for lab VMs. |
| Media RAID5 Archive | 18, 18, 18, 18 | RAID5 / RAID1 | Large sequential data with strong backups. |
| Backup RAID6 Shelf | 16, 16, 16, 16, 16, 16 | RAID6 / RAID1 | Capacity-focused backups with two-disk tolerance. |
| Critical Metadata c3 | 10, 10, 10, 10 | RAID1 / RAID1c3 | Extra metadata copies for important file trees. |
| Single SSD with DUP | 4 | Single / DUP | Single-device filesystem with duplicate metadata. |
| Lab RAID0 Scratch | 2, 2, 2 | RAID0 / RAID1 | Temporary data where backups are disposable. |
| Maintenance task | What the calculator estimates | Input to tune | Practical note |
|---|---|---|---|
| Scrub | Physical allocated data read time | Scrub read rate | Scrubs find checksum and mirror problems before they become urgent. |
| Replace | Approx data on the busiest missing disk | Replace or rebuild rate | Slow USB, SMR disks, or busy VMs can lengthen this window. |
| Balance | Free workspace held aside | Balance workspace percent | Mixed disk changes and profile conversions need breathing room. |
| Metadata | Logical metadata multiplied by profile overhead | Metadata estimate and profile | Small files and snapshots can raise metadata needs quickly. |
Building a storage device is an exercise in high hopes. You’re going to consolidate all your virtual machines, photos, and media library into a single chassis with identical drives. You set up the pool, check the capacity… and realize you have only three-quarters of your hardware capacity accounted for. What happened to the rest? That’s the Btrfs file system overhead. It’s not “lost” space; it just isn’t listed under the raw labels on your drives. To see where it went, you need to consider chunk allocations instead.
Before you configure anything, use the calculator on this page to see how much space you have available. Convert raw disks into usable space according to your workload. You may be surprised by amount of metadata overhead if its your first time using it. It turns out that many people think metadata is very small and can safely be ignored. Turns out: not so much.
How to Plan Your Btrfs Storage Space
Snapshots? There are millions of small files. Those will blow out metadata size. Btrfs copies this data independently from your main file. What happens when you use RAID1 for metadata? Well, each byte of file system structure are now mirrored. You can change profile (to RAID1, RAID1c3, etc.) and the tool show you how much physical space that requires. It’s an efficiency vs. Safety tradeoff, which depends on your data.
Manage free space wisely. Don’t let the pool get more than ~ninety percent full, as performance will suffer on a btrfs pool. To do so means there must be some empty sectors available for the file system to use to keep its copy-on-write behavior in check and move chunks around as necessary. When a drive fails, or you add a new one, you’ll want this breathing room.
Target reserves and balance workspace is other fields in the planner. They show you that total capacity isn’t the same than usable capacity. If you don’t allow for this cushion, you’re going to have trouble when it’s time for maintenance.
Mixed drives make things more complicated. Most home servers don’t start out all alike. Maybe you started with two 12TB disks and then bought two more that are 8TB. Or vice versa. Btrfs can handles that just fine by dividing chunks among the space available, but it’s not simple mathematics. To get an idea of the effect, enter comma-separated disk sizes into the calculator. That will give you an idea of how much each array size would yield if your disks were evenly distributed. This uses real world market conditions based off ideal arrays. It gives a sense of reality for how to grow from where you are without overcommitting on your existing gear.
Planning for storage includes figuring out when to do maintenance. Scrubbing verifies your data’s integrity by reading all the blocks and ensuring their checksums match those of their mirror or parity partners. But it also take time. Depending on how much data you’ve allocated to a pool and the drives’ throughput, a large pool may need days to fully scrub. The tool will estimate how long it’ll take. That lets you plan for maintenance in off hours. It turns abstract reliability concepts into real, schedulable decisions.
So which profile should you use? That’s up to how much risk you’re willing to accept. RAID6 or RAID5 will give you better space use, but make recovery from a drive failure slightly more complex (which may stress your mechanical drives). For most people, RAID1 is safer and easier (though it wastes some disk space). The reference guides spell out each profile in plain English, including their minimum number of devices and fault tolerance. There’s not a one-size-fits-all answer here. Choose a profile based on your drive budget and backup plan. Parity drives are OK if you also back up to another location. Mirrored drives might be worth the extra disk cost if this is your only copy of those family photos.
There is no substitute for planning The panic room was a bad idea. It’s better to do the math up front so you don’t waste money on drives that look good on paper, but fail in real life. Let the calculator do the math while you develop your strategy. How many drives? How much redundancy? How much of your storage capacity are you prepared to give up? When you know what happens to your terabytes, lost disk space becomes less of a bug, and more of an insurance policy. And that clarity is worth more than any extra free space you might of hoped to squeeze out of the math.