RAID 1 Rebuild Time Calculator
Estimate how long a two-disk mirror rebuild or resilver will run, including used data, sequential copy rate, source read load, spare speed, optional verify pass, and total degraded duration.
Calculation breakdown
| Copy Amount | At Effective Rate | At 75% Rate | At 50% Rate |
|---|---|---|---|
| Used data | Calculate | Calculate | Calculate |
| Full member | Calculate | Calculate | Calculate |
| Verify read | Calculate | Calculate | Calculate |
| Mirror type | Typical sustained rate | Common limiter | Planning note |
|---|---|---|---|
| 2.5 inch CMR HDD mirror | 80 to 130 MB/s | Outer to inner track speed | Use conservative rate for old disks |
| 3.5 inch CMR HDD mirror | 120 to 220 MB/s | Source disk load | Backups can stretch the window |
| SMR HDD replacement | 30 to 100 MB/s | Spare write behavior | Avoid heavy writes during rebuild |
| SATA SSD mirror | 350 to 520 MB/s | SATA bus and controller | Verify may take nearly as long |
| NVMe mirror | 800 MB/s and higher | Thermal throttle or PCIe lane | Cooling affects sustained speed |
| RAID 1 implementation | Copy amount | Verify option | What to watch |
|---|---|---|---|
| Linux mdadm | Often full component | Check or repair action | Monitor /proc/mdstat speed |
| ZFS mirror | Allocated blocks | Scrub after resilver | Fragmentation and snapshots |
| Btrfs RAID1 | Used extents | Scrub command | Balance and scrub scheduling |
| Hardware RAID 1 | Often full member | Patrol read or consistency check | Controller rebuild priority |
| Scenario | Mirror size | Used data | Expected rebuild window |
|---|---|---|---|
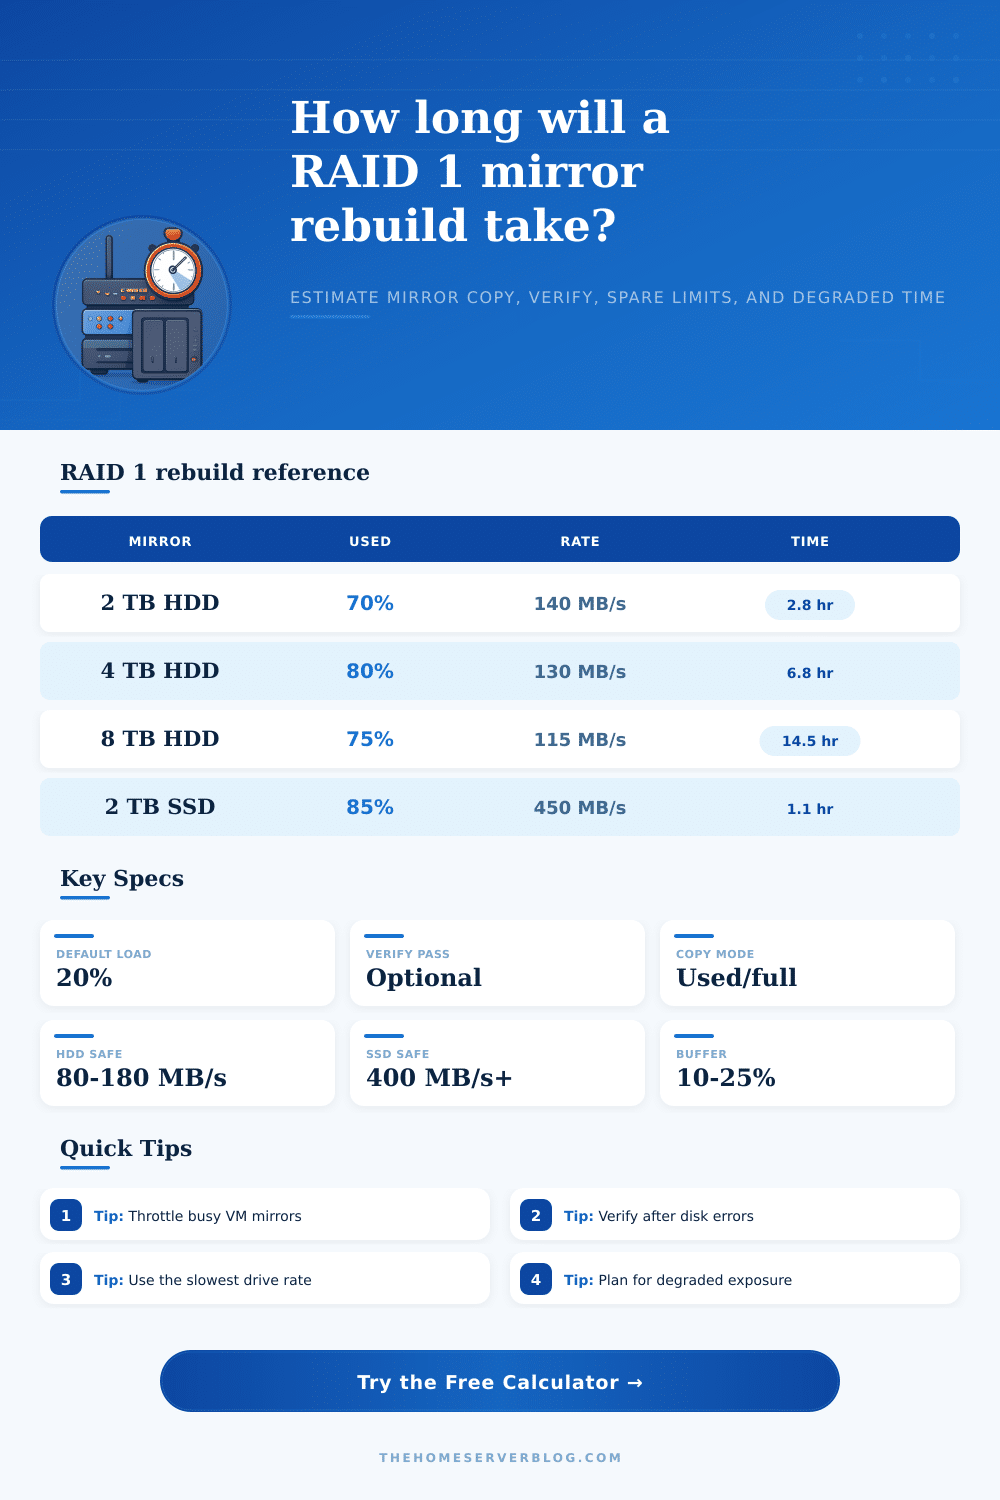
| Small file server | 2 TB | 60 to 75% | 3 to 5 hours on CMR HDD |
| Media NAS | 4 TB | 75 to 90% | 7 to 11 hours on HDD |
| Archive mirror | 8 TB | 70 to 90% | 14 to 24 hours on HDD |
| VM datastore | 1 to 2 TB | 65 to 85% | 1 to 4 hours on SSD |
| USB attached spare | 4 to 8 TB | Any | Often bus limited |
RAID 1 has always seemed like a relatively secure storage environment to me; which it is… right up to the moment a hard drive fails on you. At that point the perceived security of the array hit the real-world experience of how long it takes to rebuild the array while the server continues to function. The problem isn’t really data loss, its time. The longer the array stays out of sync, the more vulnerable you are. If you suffer another disk failure in that time, all your data will be lost. Knowing how long you are at risk allow you to respond to the situation propery.
To calculate how long a rebuild will take, this page adds up your actual sustained throughput against your drive capacity. The inputs requires the surviving drive’s capacity and its used space. This matters because newer filesystems often copy only the blocks containing data. By skipping over empty space, they saves time. Depending on your hardware controller, it might do a complete surface scan regardless, in which case choose that mode to get an accurate estimate.
How Long Does RAID 1 Rebuild Take?
Many of these speeds is grossly overestimated. They’re based off specs supplied by the drive manufacturer, not on actual physical limitations. For example, you may have a drive marked as being capable of “200 megabytes per second.” You might divide your drive size by that spec and consider it done. However, this ignore the fact that multiple process are using the disk at once. When the other disk fails, the remaining one has to does regular read requests while also copying its data to the spare, thus competing with itself for disk bandwidth.
That’s why the source load percentage field is important; it mimics that competition. On a lightly loaded server, you may only notice a slight slowdown during the rebuild, whereas a busy database host could find their effective rebuild speed reduced more then expected. It also means that replacement drive may constrain performance. Perhaps your hardware only has space for standard internal drive, but you have an external USB drive anyway; now the drive’s connection interface itself limit performance.
To determine what part(s) of the transfer are slow, the calculator asks for the spare write speed. Since we assume a fast source disk and know that a fast rebuild will take no longer than the slowest thing, the calculator caps its estimate at slower one.
Many folks miss another level of the timeline: verification. Once you’ve copied the data over, you run a verify pass (or scrub) to make sure that none of the files came across with any errors from bit rot. In effect, it doubles the amount of time the data will spend on disk, but gives certainty that the mirror isn’t corrupted. You can decide whether to include this in your total time. Consider extra downtime against the risk of skipping verification.
But time is also an issue of human factors. Things that algorithms can’t always model. Before adding new drive, think about the length of time that the array was already degraded. Any additional hours you spent between when you detected the problem and when you repaired it add up to your total risk exposure. You should of considered this earlier. By including the existing degraded time with the projected time for rebuilding, the calculator provide a single number showing amount of time during which you were vulnerable. It’s a metric that shows that drive speed is not the only thing that matter; the speed at which you respond matters too.
With those numbers in mind, you plan accordingly. If you think it’s too close to the rebuild window to risk, you’ll replace drives ahead of time. If you’re running on SSDs, then you reduce the vulnerable time. The point isn’t that you must have redundancy; it’s that you want to reduce the time when you don’t. With exact timeframes, you can schedule downtime, alert users, and defer large loads until after the mirror has been restored. It turns an imprecise and scary process into a predictable project with a known endpoint.