HomeServerBlog structured cabling planner
Patch Panel Port Planner
Size rack patch panels from wall drops, rack devices, switch ports, spare percentage, panel size, keystone density, uplinks, PoE drops, labeling zones, and future expansion ports.
1Structured cabling presets
2Port, panel, and switch inputs
Planner breakdown
Capacity health
3Panel, ports, spares, and rack-U cards
Physical panel units to order for the selected port size.
Total installed patch positions after rounding up to full panels.
Unused ports available after known and future terminations.
Panel rack space plus any horizontal cable manager U.
4Panel type comparison grid
5Patch panel tables
Calculated panel allocation
| Group | Ports | Panel share | Planning note |
|---|---|---|---|
| Wall drops | 18 | 50% | Room and desk data locations. |
| PoE drops | 6 | 17% | APs, cameras, phones, and powered endpoints. |
| Rack devices | 4 | 11% | In-rack patch normalization or device tie ports. |
| Future plus spares | 8 | 22% | Expansion positions kept open. |
Common panel sizing reference
| Installed ports | 12-port panels | 24-port panels | 48-port panels |
|---|---|---|---|
| 12 to 24 ports | 1 to 2 panels | 1 panel | 1 panel, lots of spares |
| 25 to 48 ports | 3 to 4 panels | 2 panels | 1 panel |
| 49 to 72 ports | 5 to 6 panels | 3 panels | 2 panels |
| 73 to 96 ports | 7 to 8 panels | 4 panels | 2 panels |
| 97 to 144 ports | 9 to 12 panels | 5 to 6 panels | 3 panels |
Dynamic label zone plan
| Zone | Suggested range | Ports per zone | Use case |
|---|---|---|---|
| Zone A | A01-A08 | 8 | Core rooms or first floor. |
| Zone B | B01-B08 | 8 | Office, lab, or second floor. |
| Zone C | C01-C08 | 8 | PoE endpoints or cameras. |
Structured cabling standards and limits
| Item | Typical value | Planner impact | Field note |
|---|---|---|---|
| Permanent link | 90 m / 295 ft | Leave room for patch cords | Common TIA channel planning split. |
| Total channel | 100 m / 328 ft | Includes both patch cords | Applies to common twisted-pair Ethernet. |
| Rack unit | 1.75 in / 44.45 mm | Panel density determines rack U | Reserve U for managers and blanking. |
| Label format | Zone-port | Speeds troubleshooting | Example: B14 maps to zone B, port 14. |
| PoE grouping | Same panel area | Simplifies power moves | Mark AP and camera drops visibly. |
6Patch panel planning tips
This planner sizes panel positions and rack space. It does not certify cable category, bend radius, fire rating, grounding, or local low-voltage code requirements.
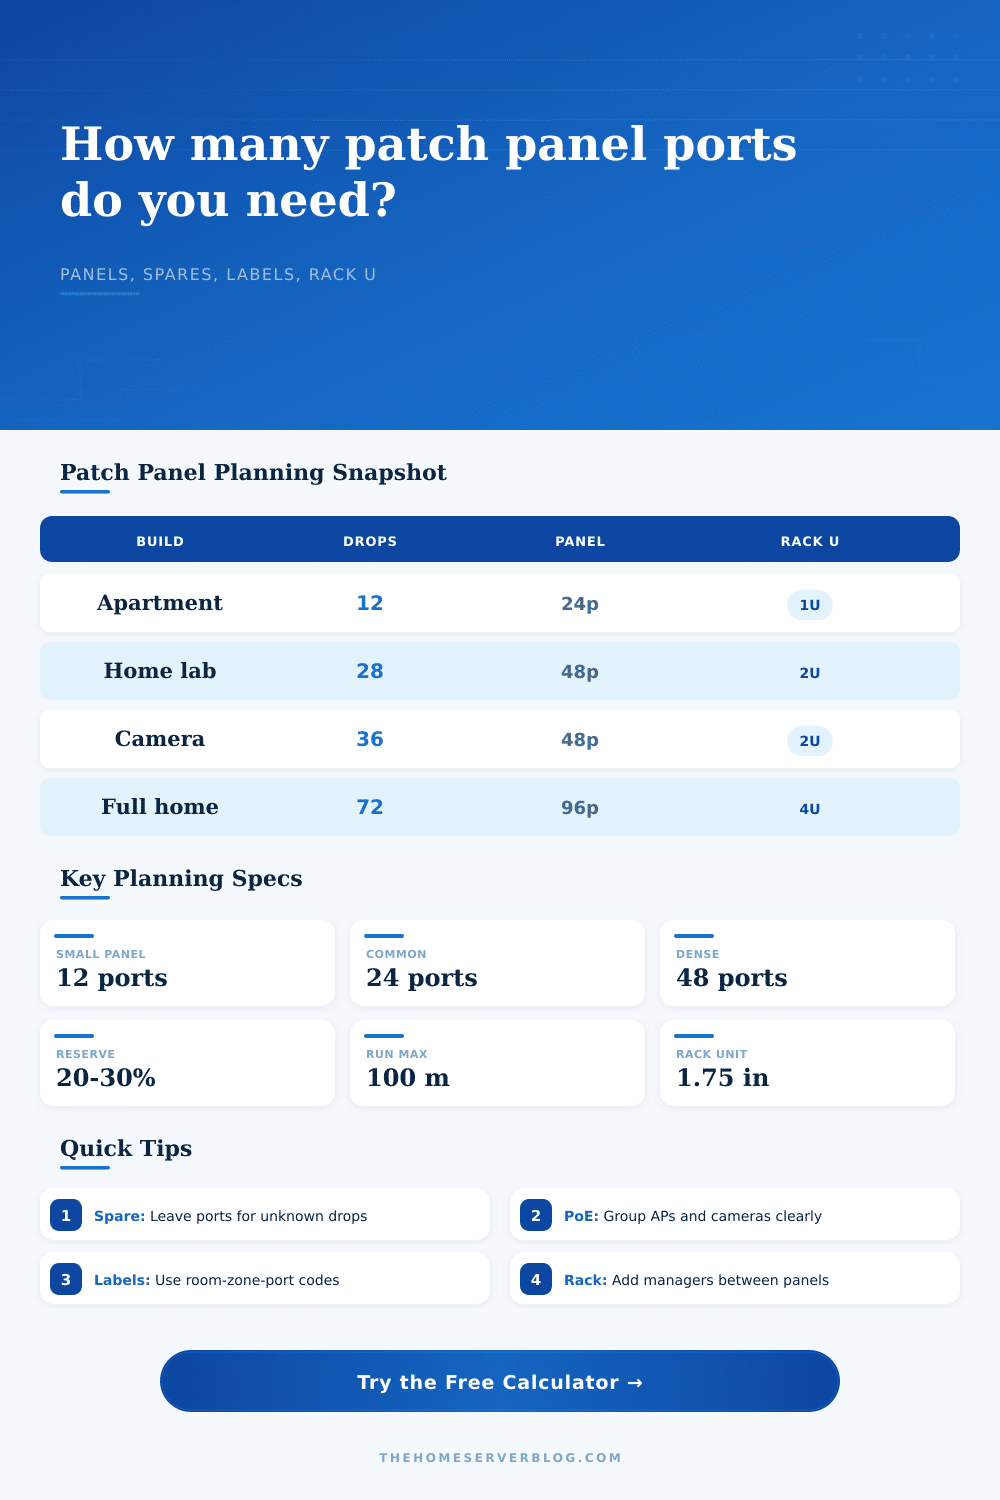
Home lab builders need some way to plan their structured cabling without having to pull actual cable. A patch panel port planner lets you calculate how many ports will be used and how much room is left for spares. It also helps you figure out what switch(es) can works in the rack, what labels range(s) should start at, how many panels they’ll need, and how many U in the rack for all this stuff before buying it and tearing down the wall. It takes that vague “what if” anxiety and transforms it into a definite list of where things go, what to purchase, and how much space it require.
But why? Because logic is simple, yet easily screwed up.
Why You Need to Plan Your Home Lab Cables
Begin with what we know (drops). These are the wall plates you’ve run wires to, or will soon run wires to, for things like TVs, desktops, and general data needs. Now add in what you don’t see (rack devices). Those is the internal connections to your switches (to things like lab nodes), NAS units, or servers that connects back to the switch. Next, include a spare percentage. That’s where most folks skimp on cost and then end up paying big time when they’re frustrated. Twenty to thirty percent for spares isn’t wasteful. It’s purchasing the option of changing your mind next year without having to tear open the wall. Once you enter those numbers into calculator, it takes care of the rest. Specifically, it makes sure you round up to a panel size that exists, instead of some partial unit that doesn’t actualy exist.
Rack space is a big problem in small enclosures. Twenty-four inches. That doesn’t sound like much, but when you put 24-port panel in there, that’s all the vertical space for two dozen separate cable terminations. Choose a higher density panel with 48 ports and you cram those cables into even smaller spaces. To switch between feed-through, punch-down, or keystone styles, just toggle to other views. Each has its pros and cons.
Blank keystones can mix-and-match different types of media and offer some flexibility, though they takes more assembly time. For uniform runs like Cat6, punch-downs are cleaner and faster, but they lock you into one wire size. How much extra rack space do these decisions require for cable managers? Without one, your rack will be an unholy mess inside a month. Add one in and you gobble up valuable vertical space. This too gets factored into the planner and lets you see what realistically fits in your enclosure.
The last bit of sanity is labeling. Without that, a hole in plastic is simply a port. That’s no good. And with a zone label? It’s a map. Your zones determine what label range it suggests. This allows you to group by function, floor, or even by room. Good grouping includes drops for access points and cameras together. Not only do they balance power loads, but if one stops working, it’s easier to troubleshoot and figure out which device went down. Rather than searching through all sorts of traffic, find your camera ports in a block somewhere. The page has a reference table that spells it out. It translates port count into rack allowance and then how many physical units you’ll need on the panel.
Regarding the cables, the point isn’t to get them in today. The point is to design the system so it can handle you tomorrow. Tomorrow you’re going to be ambitious. You’ll want a guest network. You might want a second security system or some smart lights. If you sized the panel to accommodate expansion now, you’ve got peace of mind. It is not extra plastic, but peace of mind. You don’t have to scramble for random keystones at midnight, or realize you should of bought a second, incompatible panel after all to complete the job.
Plan ahead. Size the panel for expansion. Leave room for what you don’t know yet. That’s how you keep the network humming along while keeping the rack looking nice.