HomeServerBlog rack airflow planner
Rack Blanking Panel Calculator
Plan rack blanking panels from rack height, occupied U, gap count, open-U distribution, airflow leakage, panel sizes, rack count, containment mode, bypass target, and spare rack space.
1Rack presets
2Rack, gap, panel, and leakage inputs
Panel and airflow breakdown
Bypass pressure indicator
3Open-U, panels, leakage, and recovery cards
Blankable empty rack units once planned spare rack space is held back.
Physical blanking panels before the multi-rack count and spare buffer.
Uncontrolled bypass airflow from open U in the active equipment face.
Estimated share of bypass airflow redirected through equipment intakes.
4Panel size comparison grid
5Rack panel planning tables
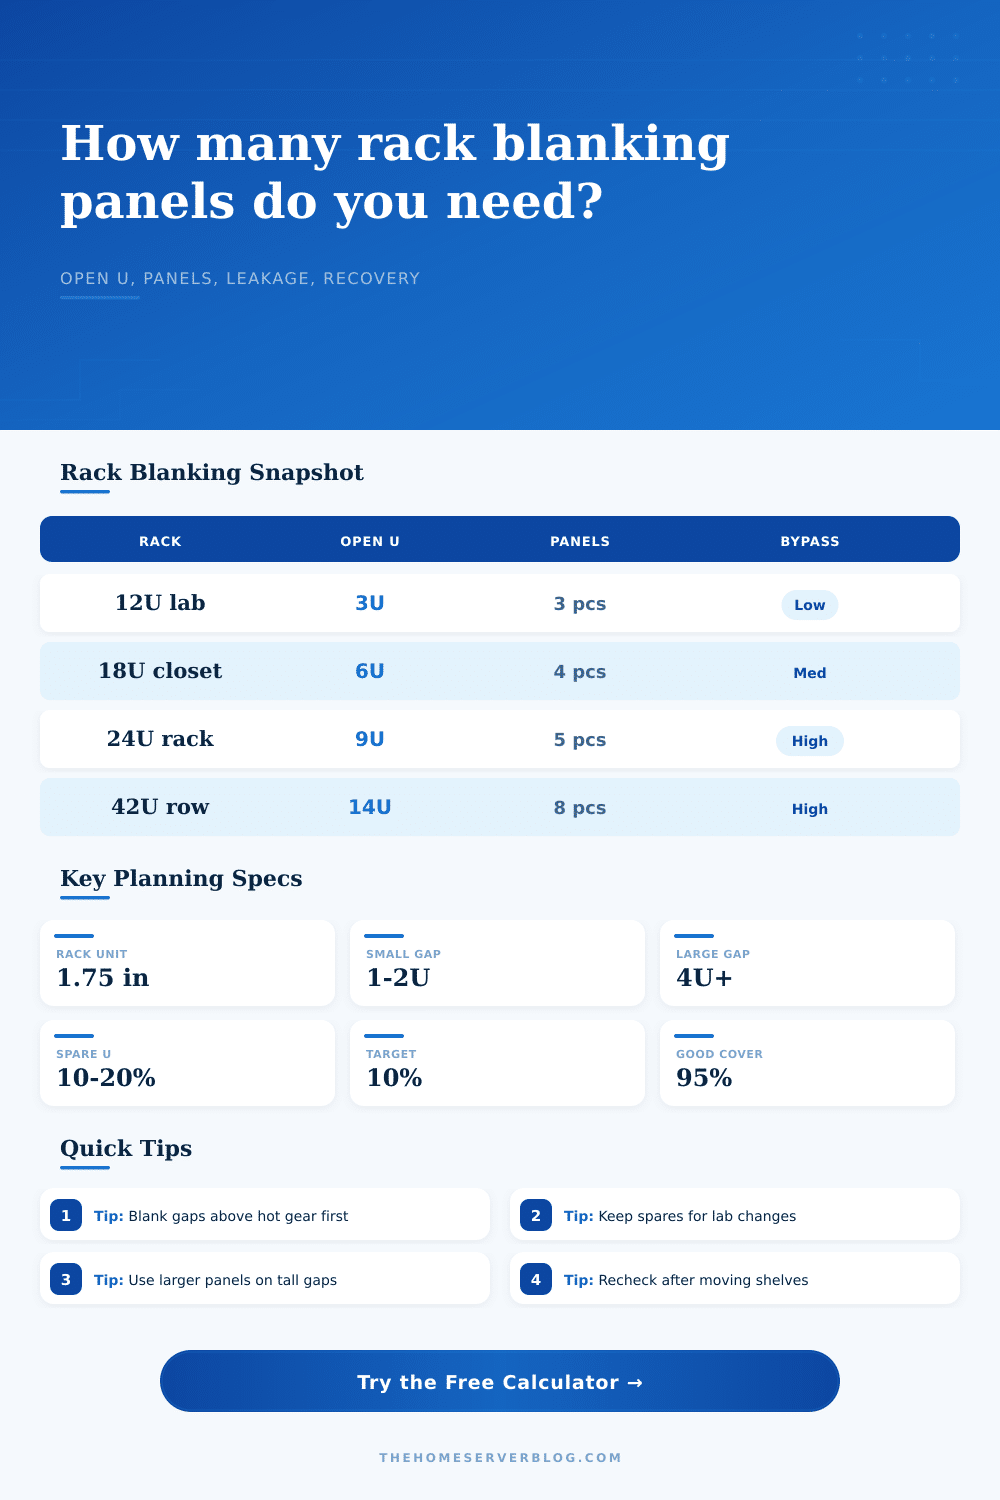
Rack blanking by home lab size
| Rack scenario | Typical rack height | Blanking goal | Panel mix to keep |
|---|---|---|---|
| Network wall rack | 6U to 9U | Seal unused switch and patch panel gaps | 1U heavy |
| Small home lab | 12U to 18U | Keep NAS, firewall, and UPS airflow from recirculating | 1U + 2U |
| Mixed 24U rack | 22U to 27U | Cover migration gaps while preserving expansion space | 1U + 2U + 4U |
| Full-height lab rack | 36U to 45U | Reduce cold-air bypass through large unused rack blocks | 2U + 4U + 6U |
Open-U distribution priority
| Gap location | Why it matters | Suggested first action | Risk marker |
|---|---|---|---|
| Middle of active stack | Air can short-circuit directly between hot exhaust and cold intake zones | Blank immediately with solid panels | Highest |
| Top above servers | Warm exhaust can roll forward through the open face of the rack | Blank after middle gaps | High |
| Bottom below gear | Often less severe, but can waste cold supply air in contained layouts | Blank if rack has front-to-back cooling | Medium |
| Reserved install space | Short-term expansion may justify a temporarily open slot | Track with a dated rack layout note | Variable |
Containment mode leakage multipliers
| Containment mode | Multiplier used | Practical reading | Blanking value |
|---|---|---|---|
| Open room rack | 0.85x | Room mixing already exists, so visible gains may be modest | Useful |
| Perforated front door | 0.95x | Front restriction makes face gaps more noticeable | Good |
| Side panels installed | 1.05x | Less side mixing means open U become easier air paths | Strong |
| Hot/cold aisle discipline | 1.15x | Rack face separation makes blanking panels pay back faster | Strong |
| Contained cold aisle | 1.3x | Small gaps can undermine otherwise good containment | Critical |
Panel purchase planning
| Panel size | Best use | Service tradeoff | Stocking advice |
|---|---|---|---|
| 1U | Scattered single slots, patch panel moves, switch swaps | More pieces, most flexible | Keep at least a small stack |
| 2U | Common paired equipment gaps and short staging spaces | Still easy to reconfigure | Good default spare size |
| 4U | Server migration gaps and partially built racks | Fewer pieces, less granular | Buy when gaps are stable |
| 6U | Large unused rack blocks in full-height racks | Fast install, least flexible | Use for row racks or pods |
6Rack blanking tips
You built out a server rack, filled it with gear. Saw the lights blinking. Felt good about yourself. Opened up the door. Warm air hit your face.
No big deal right? It’s annoying, but also shows that your cooling system is being outgunned by large holes in the frame. Rack blanking panels look like a cosmetic add-on to make things nice looking. They’re not. They are literal your first line of defense against thermal runaway when packing them full of gear.
Why You Need Rack Blanking Panels
Once you know how much space you have in the rack (height) and what is occupying that space (occupancy), the calculator above will do the math for you. No more guessing at airflow coefficients.
Bypass airflow is at the heart of the matter. Your rack fans sucks in cool air from bottom (or a cold aisle). They blow it over equipment. And if you have open spaces, above, below or between your server, that air goes where it wants: right through the unused U-space, dumping heat directly into intake area. This is called short-circuiting.
Your servers gets warmer; your fans work harder; your electric bill rises. You’re paying for air not doing any useful work.
First, guess what percentage of your rack is unused. Maybe you have a standard 42U rack with 30U of gear. You may believe 12U will do. However, you’ll want some room for growth. The tool allow you to set aside units for spares. That is a great practice. If you’re going to add a switch in six weeks, don’t fill up that row. Leave it available, but close off the rest.
A sealed rack can be 20 degrees F cooler then a porous one at exhaust.
And then think about where those holes exist. Are they at the top, or somewhere in the middle? Holes in the middle of your server stack are infinitely worse than holes right at the top. Middle stack holes causes the hot exhaust from one machine to get sucked up and immediately into intake of another. That’s the fastest way to kill CPU performance. Top holes aren’t as bad, since warm air will rise, and might even make its way out the ceiling instead of being recycled back in the intake. The page has a handy little table that explains it well. It also shows which ones need attention ASAP.
Convenience is more important than panel size. For example, if you have lots of cables to route, then 1U might not work well at all. You could put multiple switches into one 2U panel, but in that case, you lose out on a few more slots.
1U / 2U panels provides flexibility. Too big? Go 1U. Not enough room for a tiny hole for a switch here or there? Go 2U. More possible failure spots? Go 2U
You can choose between perforated or solid panels. Solid panels is better because they seal better when there is a leak. Brush panels do exist and let you pass cables through so you can close off the back. They still allows some air to escape. So choose what works for your cable management style. If you’re messy in the back, maybe a brush panel is fine even though it is a bit less efficiently.
Don’t overlook the context of containment. In an open space such as an open room where your rack lives, the improvement due to blanking out is relatively minor but still worth noting. However, if you’re in a contained aisle (hot & cold), with contained ceilings, each open rack slot become a disaster waiting to happen. Aisle containment creates air pressure differentials that cause air to flow around any possible path into the open aisle. Your empty U-space is that hole. The calculator accounts for your containing mode and how much greater leakage would be. It’s a little detail, but it makes the problem worse or better to match.
Lastly, purchase spares. Panels gets lost. Gear moves around creating temporary openings. Store a pile of spare 1U panels in your drawer. As you pull a server to replace another, slip a panel in right then. You should of don’t be lazy and leave it hanging open at night. Make it a routine.
A few degrees cooler servers. Quieter running fans. A pro looking rack. The heat goes where it should. The cool air does what it’s supposed to do. Most folks forget that. It’s not as much about the stuff as it is the room it occupies.