WiFi Coverage Area Calculator
Estimate access point count from floor area, wall loss, band choice, AP EIRP, client sensitivity, ceiling height, overlap, and device capacity.
| AP profile | Typical EIRP | Practical clients | Planning note |
|---|---|---|---|
| ISP gateway router | 22 dBm | 20-30 | Works best when centered, not hidden in a cabinet. |
| Consumer mesh node | 23 dBm | 25-40 | Backhaul placement matters as much as client coverage. |
| UniFi U6 Plus | 23 dBm | 35-55 | Ceiling mount gives a clean donut across normal rooms. |
| UniFi U7 Pro | 24 dBm | 50-80 | Strong fit for 5 GHz and 6 GHz high-density rooms. |
| Omada EAP610 | 23 dBm | 35-60 | Good midrange ceiling AP for mixed home devices. |
| Outdoor / garage AP | 26 dBm | 25-45 | Use directional placement if covering a yard or shop. |
| Item | Planning loss | When it matters | Practical response |
|---|---|---|---|
| Drywall / wood stud | 3 dB | Most interior rooms | Plan around wall count, not just distance. |
| Brick or block | 8 dB | Fireplaces, exterior walls, old homes | Add APs on each side of the barrier. |
| Concrete | 12 dB | Basements, garages, condos | Use wired APs rather than blasting power. |
| Foil / low-E glass | 18 dB | Insulation, sun rooms, metalized windows | Treat it as a near RF boundary. |
| 2.4 GHz | Lowest path loss | IoT and longer reach | Keep channels narrow and power modest. |
| 6 GHz | Highest path loss | Same-room fast devices | Use more APs with careful placement. |
| Layout | Useful cell factor | Metric equivalent | Common AP placement |
|---|---|---|---|
| Open plan or loft | 0.88 | Best area reuse | One central ceiling AP can cover well. |
| Typical rectangular home | 0.78 | Normal room loss | Place APs along the long center line. |
| L-shaped floor | 0.65 | Corner shadow | Put one AP near each leg of the L. |
| Long narrow floor | 0.58 | Hallway loss | Use smaller cells with lower transmit power. |
| Multi-level home | 0.62 | Floor loss | Stagger APs vertically, not directly stacked. |
| Project | Starting area | Likely AP count | Second check |
|---|---|---|---|
| Small apartment | 700 sq ft / 65 sq m | 1 AP | Use 5 GHz unless walls are heavy. |
| Two story family home | 2,200 sq ft / 204 sq m | 2-3 APs | Capacity can beat coverage if many devices stream. |
| Dense smart home | 2,800 sq ft / 260 sq m | 3-4 APs | Keep IoT on 2.4 GHz and clients on 5 GHz. |
| 6 GHz media rooms | 1,500 sq ft / 139 sq m | 2-3 APs | Assume shorter cells and less wall penetration. |
| Detached shop | 900 sq ft / 84 sq m | 1-2 APs | Backhaul quality decides the real result. |
Reliable WiFi coverage throughout a house depend upon how the radio signals that leave an access point travel through the house. Radio signals must travel through the air, furniture, and walls in a house. Every surface that a radio signal encounter will reduce the strength of that radio signal.
This reduction in signal strength is the reason that many houses with a single access point will experience dead zone throughout the house. The WiFi access point coverage calculator allow users to enter the dimensions of the floors of the house, the number of walls, and the desired signal strength at each floor area. Based off these entries, the calculator can perform the math to determine the number of access points that are required to cover the house.
How to Make WiFi Work in Every Room
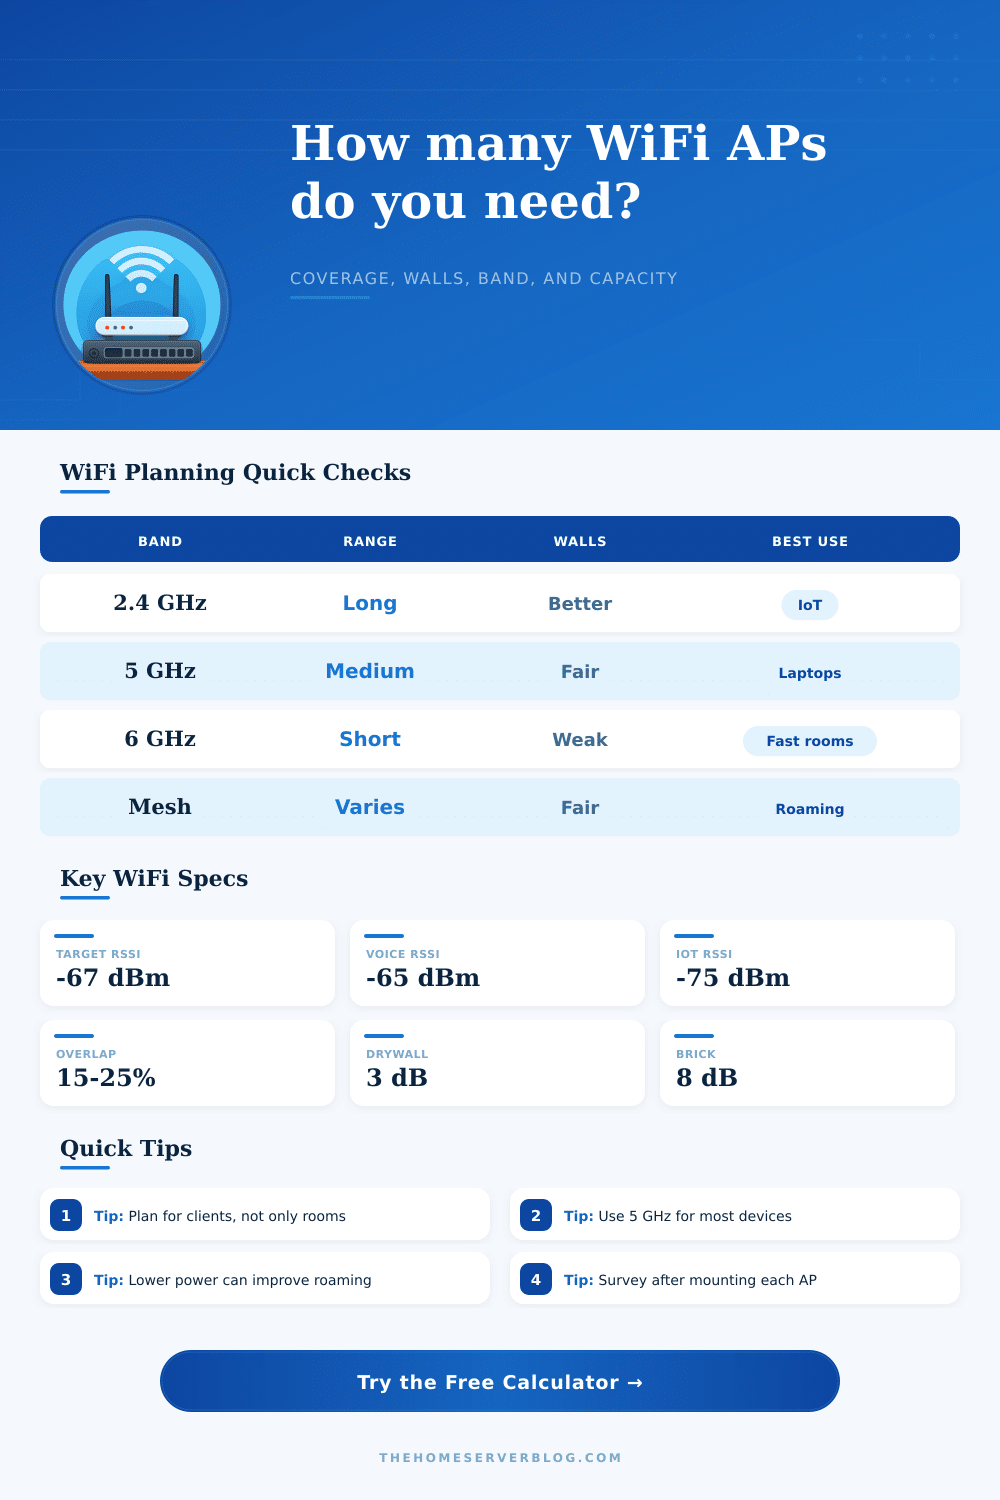
The materials of the walls can impact the signal strength, and many people is unaware of just how much impact the materials of the walls can make upon the signal. Drywall will reduce the signal strength by roughly three decibels every layer of drywall encounter by the signal. Brick or block walls, however, can reduce the signal by eight decibels.
This impact on signal strength is important to recognize in that the signal can weaken as it encounters these walls, reducing its range within the house. Should a house contain plaster walls with metal lath, the metal lath in the walls will reduce signal strength again. The calculator will adjust the signal radius from the access point according to the number of these metal lath structures in the house.
Based upon all of these variables, the calculator will indicate if the number of access points that youll purchase will allow for reliable coverage of the house, or it will suggest that two or three access points will be required to provide adequate coverage to all areas of the house. The height of the ceilings in a house will impact the signal strength. Houses with ceilings that are nine feet in height are standard heights in many homes.
Every additional foot in ceiling height will impact the signal strength of the access point, as the signal will need to travel through a greater distance to reach the devices on kitchen tables or in laps of sleeping children. The WiFi access point calculator will include the height of the ceilings in its calculations, as well as include a safety margin in the calculation in case the actual height of the ceilings in the home is not as measured in the calculation, or if there are ducts or mirrors in those ceilings. Including this safety margin will ensure that the WiFi signal will still be strong throughout the home, even according to the suggestions of the WiFi access point calculator.
Finally, the number of devices that will be accessing the WiFi signal will impact the signal strength requirements for each access point. The more devices that are streaming video content, the more signal strength will be required to accommodate the devices than if those devices were only using the WiFi signal to access email or browse the web. The calculator will include a calculation of the signal demand of the devices, as will the signal capacity of each access point.
Based upon this calculation, the calculator will suggest the number of access points that will be required to provide reliable internet signal throughout the house. The frequency bands that are used for the WiFi signal will also impact the signal strength requirements of each access point. The 2.4 GHz frequency band can travel the farthest distance from the access point, passing through the walls of the house to reach the devices.
The 5 GHz frequency band does not travel as far from each access point, while the 6 GHz signal travels the farthest of all WiFi signal bands, but does not range as far from each access point as the 2.4 and 5 GHz bands. Should the WiFi devices in each area of the house use either the 5 or 6 GHz frequency bands, it is possible that an additional access point will be required to provide reliable signal to those devices. An entry field on the calculator will permit the user to select the frequency bands of the devices in the house.
The placement of each access point is another important factor in creating reliable WiFi signal throughout the house. An access point that is installed in the center of each ceiling will provide the most even distribution of signal throughout that area. If the access point is placed behind a television or blocked by cabinets, the signal may not reach those devices as strongly.
In L-shaped homes, the placement of the access point in only one corner of the house reduces the useful area that is covered by the signal. In long and narrow homes, the placement of the access point in the center of the floor plan instead of near the devices will reduce signal strength. Additionally, there are objects in most homes that will reduce the signal strength of the WiFi access point.
These objects can include aquariums, metal ductwork, and low-emissivity windows. The calculator cannot see these objects when the house is surveyed. The calculator will include a note regarding surveying the house in which the access points will be installed.
With each device in each room, the users can use a phone application to survey the WiFi signal strength in each location so that it can be ensured that the access points will provide the signal strength that is calculated in the calculator. The number that is provided by the calculator is a starting point for the installation of access points in the house. The calculator has taken into account the coverage areas of each access point, the walls in the house, the number of devices with WiFi capabilities, and the frequency bands of the devices.
Each of these factors can be adjusted in the calculator to view the impact upon the suggested number of access points for the house. Factors like the number of drywall walls in the house or the number of devices using the 6 GHz frequency band can be adjusted in the calculator. The placement of the access points in the house is more important than the number of access points bought.
A small number of well-located access points will provide better coverage to the devices in the house than a single access point with high signal strength placed in a cabinet in the kitchen. It would of been better to plan ahead for more access points. Actualy, many people dont realize how much the walls matter.
The rooms size can be a problem. Use a moddern router for better results. A lot of users recieve bad signal because they dont consider the ceiling height.
Its important to check the WiFi signal strength. Youre going to need a good plan. One access point isnt always enough.
The house’s layout is key. When you’re setting it up, make sure the placement is correct. The signal strength can dissapear if there is too much metal.
The calculator will help you find the right amount of access points for your home.